by Matt Kerns, VIN #03650
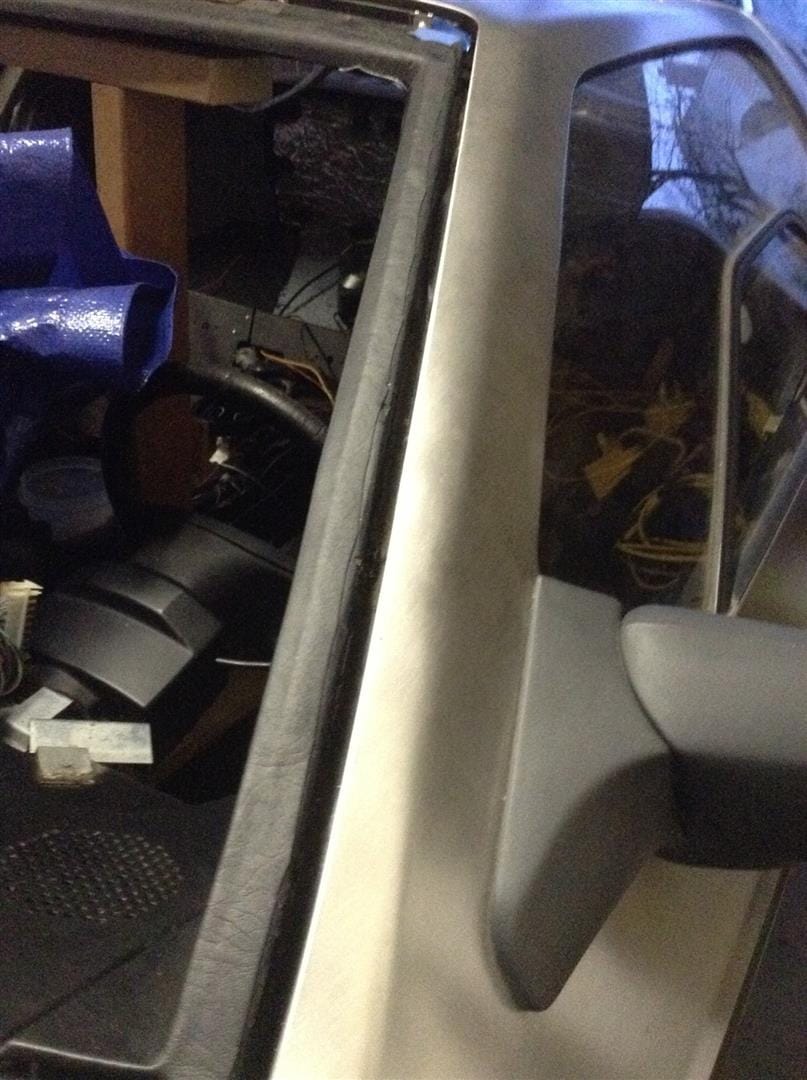
When I bought my car from upstate NY, the interior A-pillar windshield trim was deformed, pulling away, and the vinyl was hard and cracking. I decided to reshape and recover them rather than buy new ones.
Steps:
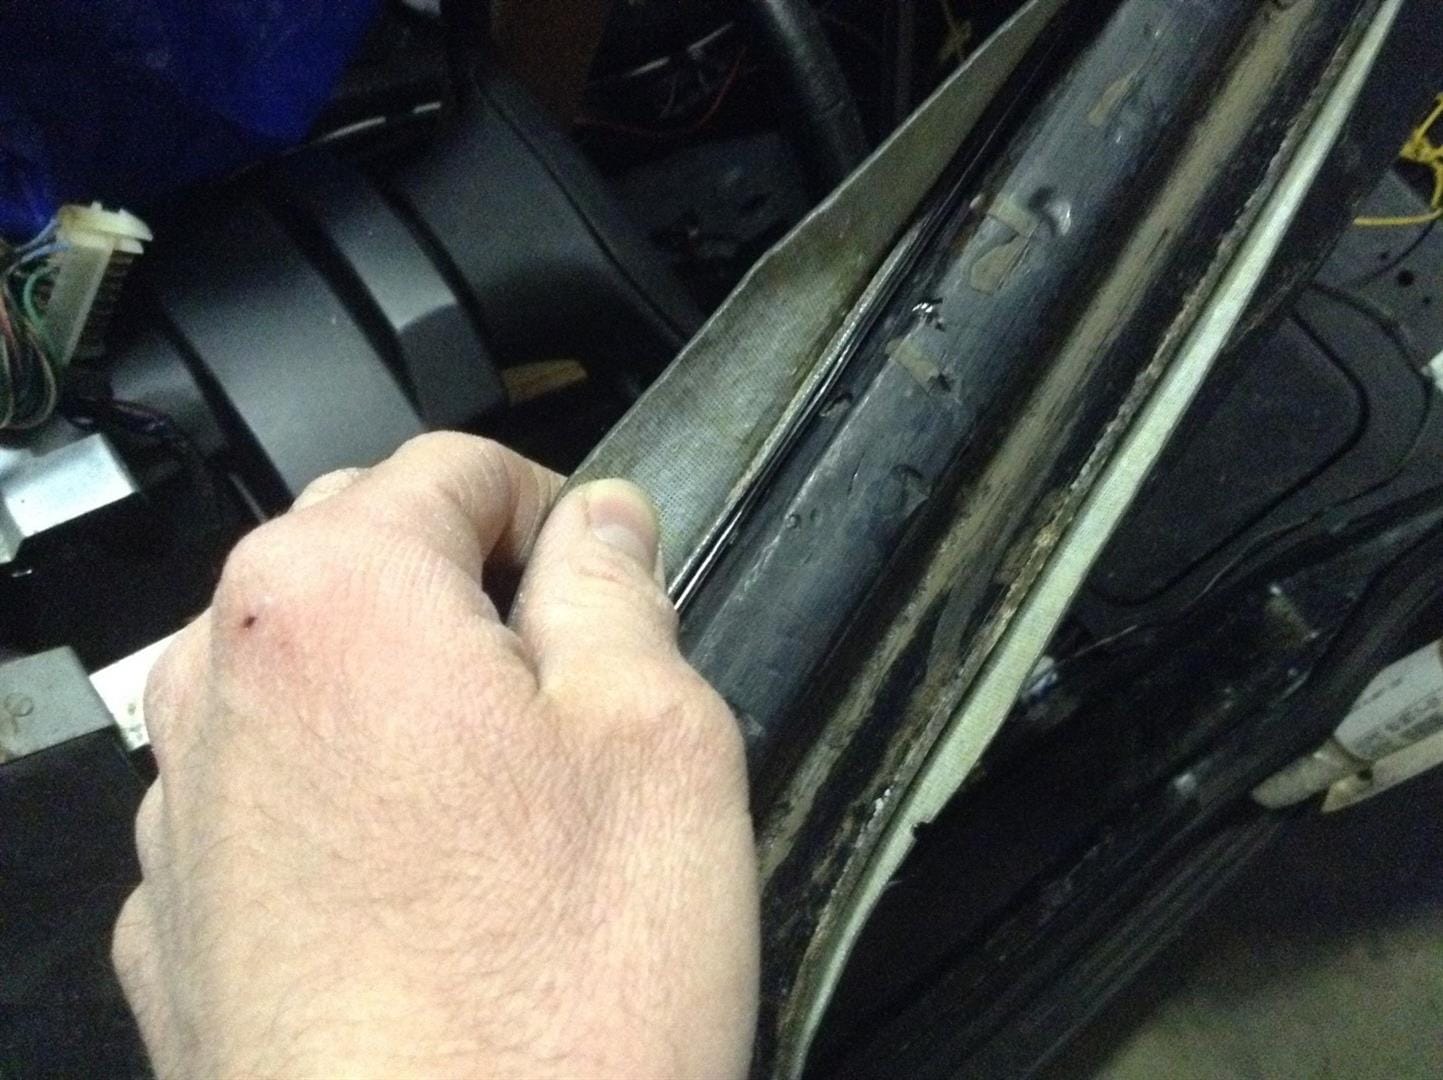
- Remove the pillar trim by cutting the vinyl holding it to the car. I chose to remove the windshield and bracing the roof to properly remove and install the new trim, like factory gluing the vinyl, particularly under the glass.
- After separation, I stripped them of covering and glue, cleaning the plastic with acetone, MEK, mineral spirits, and whatever wouldn’t harm the plastic.
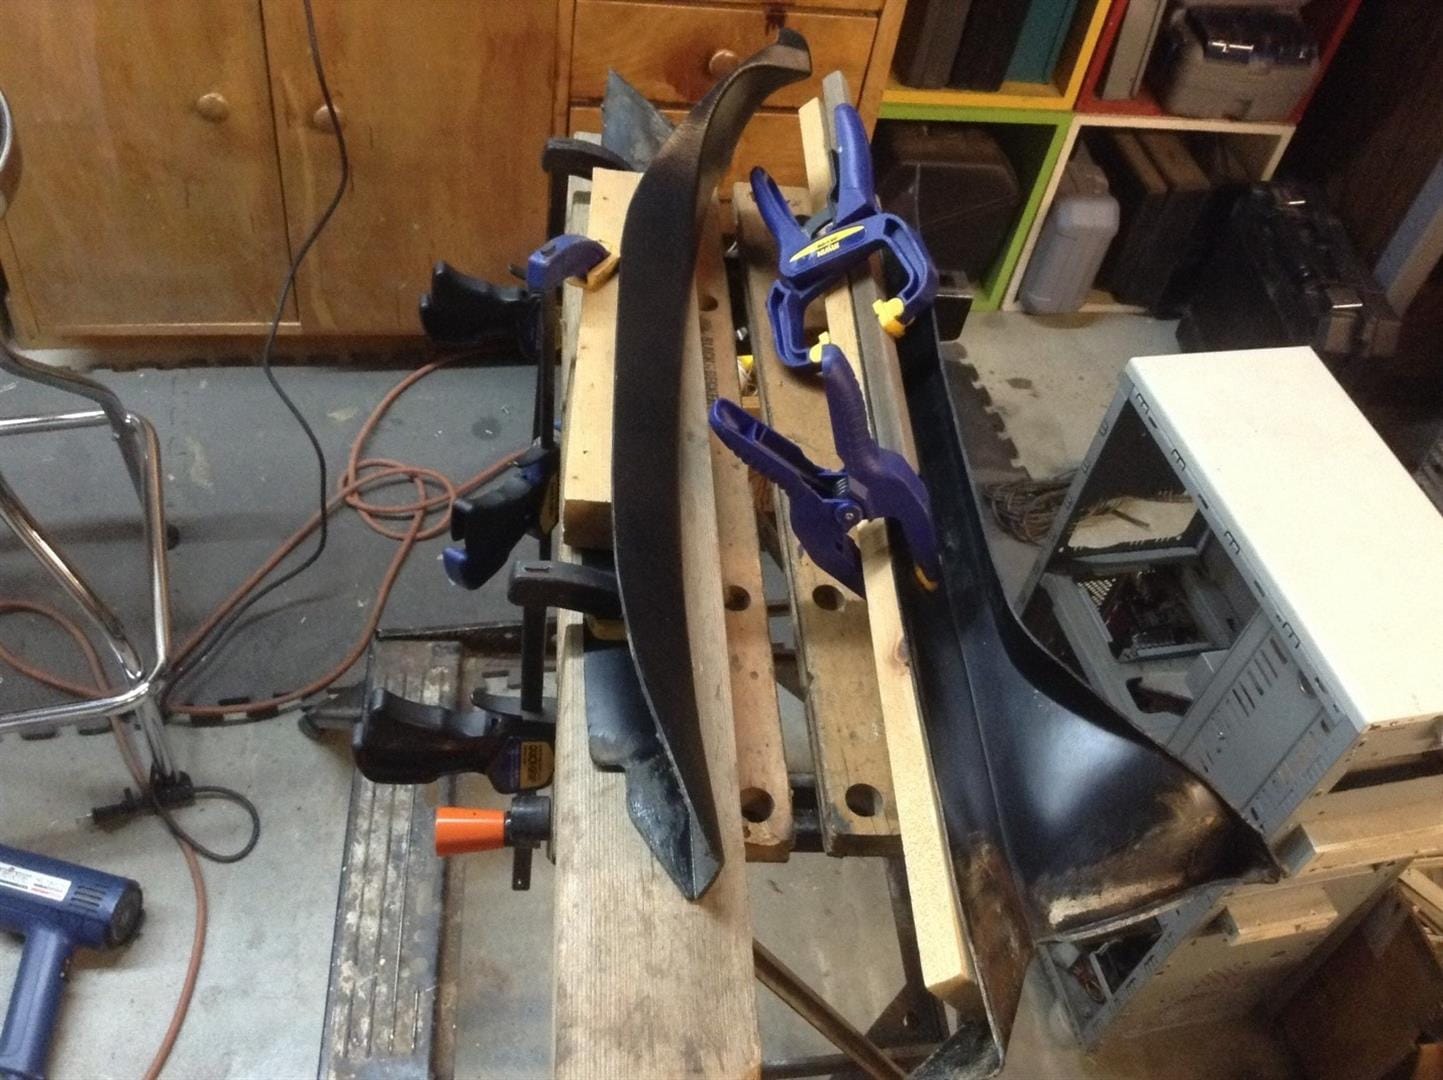
- To reshape the warped plastic, I clamped the flat side between two 1″x1″ pieces of wood, heating as I went with a low-to-medium setting on a heat gun. When I was done reforming, I left the pieces clamped for a couple days to ensure no spring back.
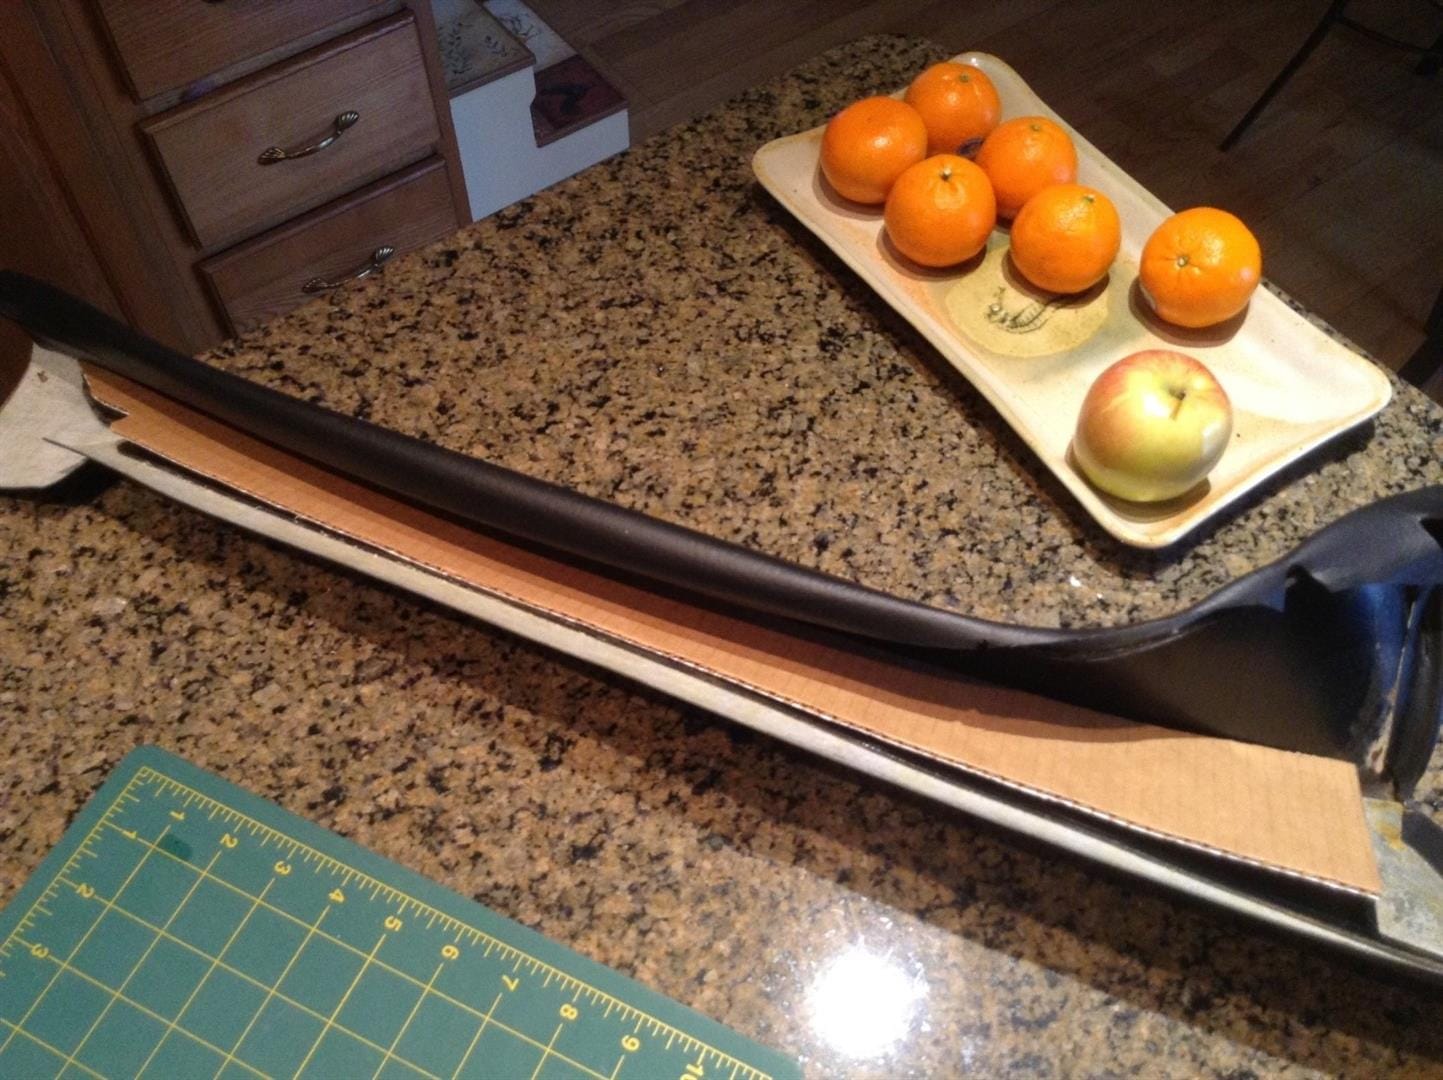
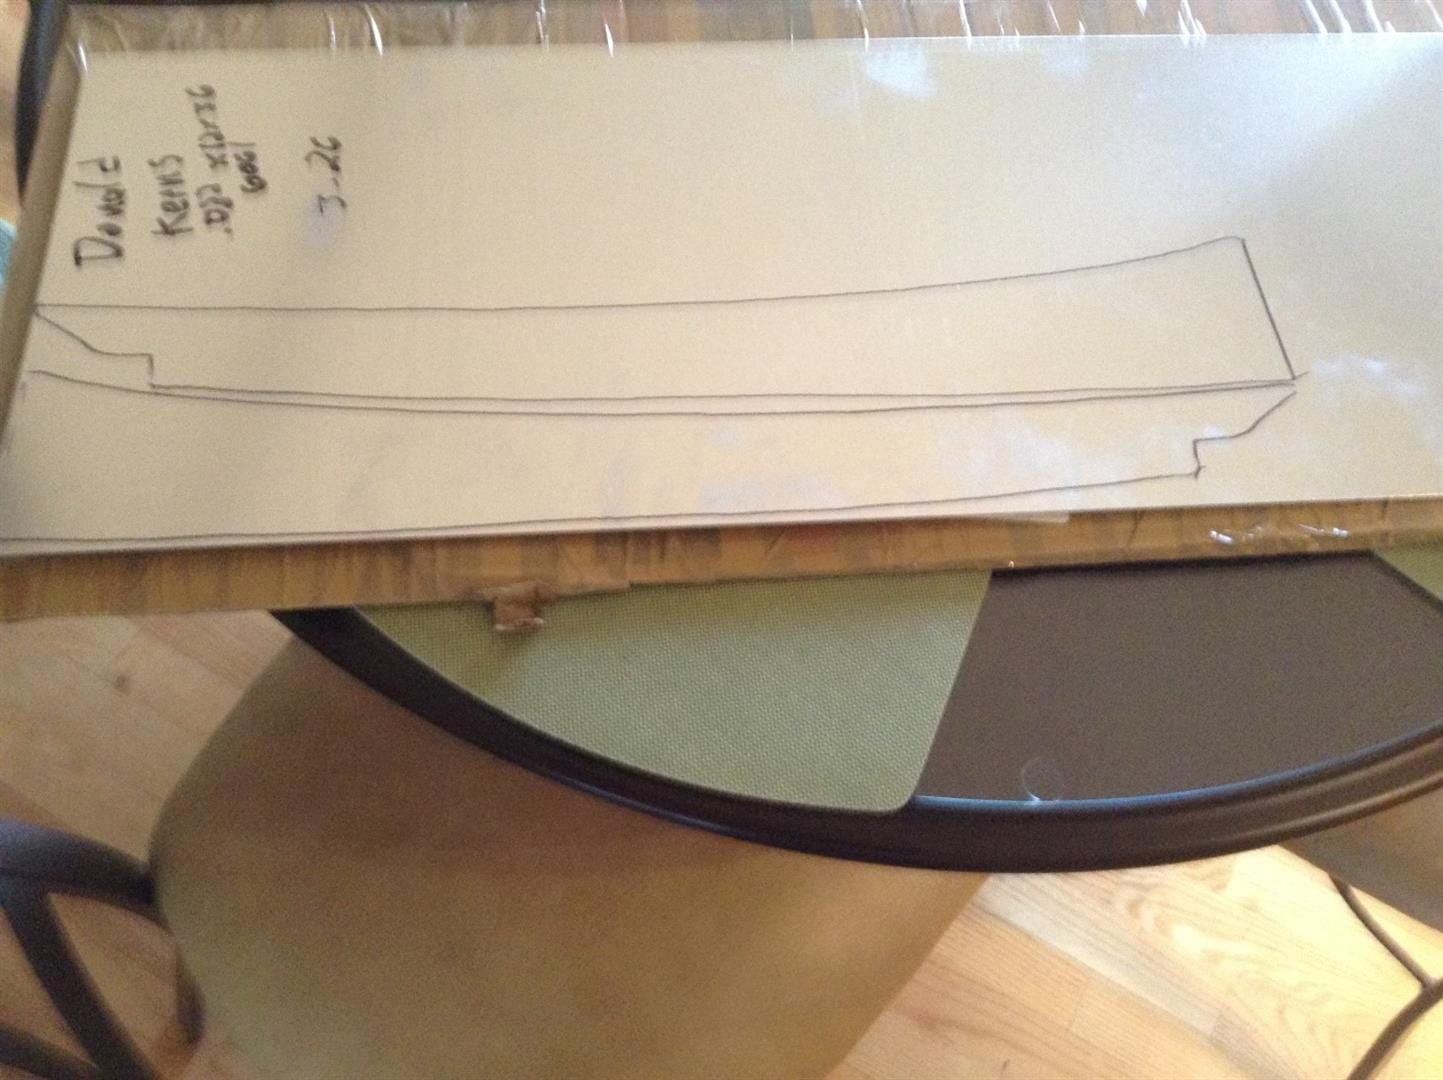
- I then traced the flat portion that was now reshaped, onto cardboard as a template, so I could transfer it to a thin 0.032 inch stiff aluminum sheet metal.
- I cut out the metal backing plate I just made, then glued / bonded it to the inside of the A-pillar trim using rubber cement (or any desired glue.) Note: The stock metal angle plate where the trim meets the dash is still used in conjunction with the new plate I just made, and should not be overlapped, as this will add thickness. Butt joint the two pieces.
- Take your desired covering material (I used automotive grade, one-way stretch-backed vinyl) and cover the plastic pillar, leaving about an inch overlap on the both sides, to wrap and glue under the windshield and under the door jamb where the door gasket fits over it.
- Let the glue dry completely to make sure it does not peel away from the trim piece.
- Dry fit the pillar on the car, wrapping the flat side-flap around/over where the glass would be, cutting the excess material off. (It should be about half-way along the frame, so about half-an-inch of material and half-an-inch of windshield surface for gluing, like the OEM.) Trimming Not pictured.
- I Used 3M double-sided foam tape to secure the trim to the car, sandwiched between the car and the metal plate I glued in.
- Use your desired glue to bond the flap to the frame (I used rubber cement.)
- Use Windshield glue to reinstall the windshield. *Remember to use the depth blocks to allow the right height for the shield to the body.
- Press on the door gaskets that overlap the vinyl and glue the vinyl to the door jamb. (I also added vinyl trim to the top of the windshield where it meets roof and headliner.)
Photos: